NDT Service
Material Testing
Based on our DIN EN ISO 9712 certified personnel, we offer four non-destructive testing methods. These four different test methods enable us to cover about 98 % of the test requirements and test tasks requested by the customer with our NDT service.
Non-destructive testing methods
We examine individual components or entire assemblies for you, your customers or your suppliers. Most of our customers stem from the automotive / automotive, steel construction and pipeline construction industries.
In addition to welded joints, our NDT service also offers testing for cast components, forged components and flat products such as sheet metal.
Due to certification level 2, we are proficient in evaluating the detected imperfections and transferring them into a standard-compliant protocol, additionally to the actual detection. Throughout the process, we are committed to a high level of communication and production-supporting action.
Visual Testing
(VT)
Penetrant Testing
(PT)
Magnetic Particle Inspection
(MPI)
Ultrasonic Testing
(UT)
Visual Testing
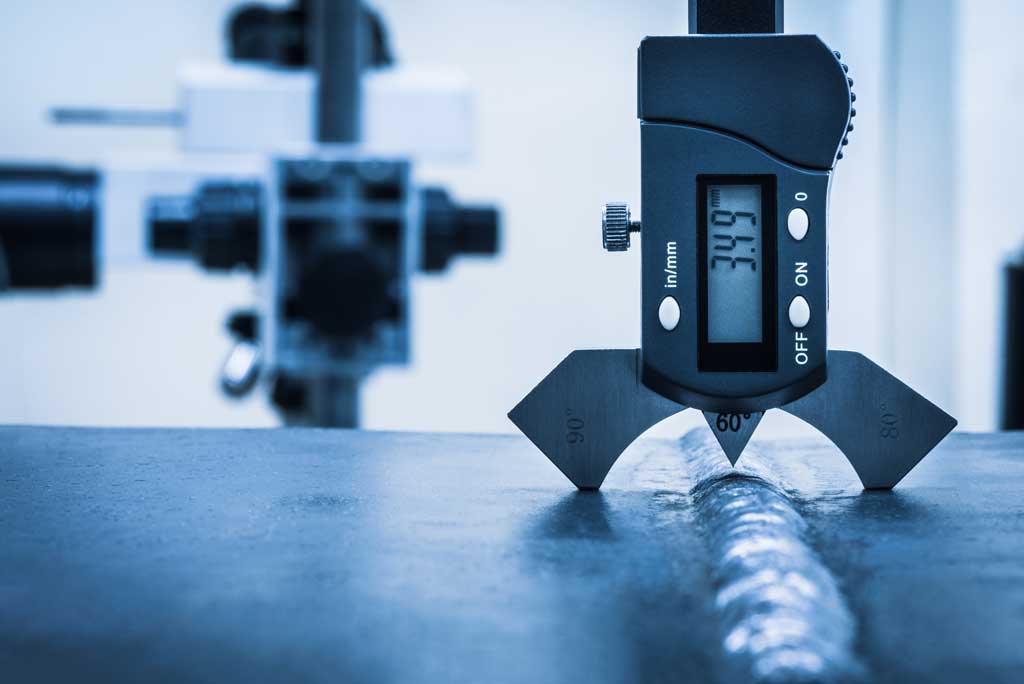
Using visual testing (VT), we localize, record and evaluate form deviations, surface irregularities and surface conditions. We thereby apply the process standard DIN EN 13018.
With general visual testing, we identify the test object and check the general condition, completeness and major irregularities.
The special visual inspection, mostly based on test standards, is used to evaluate surfaces, shape, geometry deviations. Welded products, for example, are evaluated according to DIN EN 5817.
We perform direct visual inspections (without interrupting the beam path between the inspection surface and the observer’s eye) and indirect visual inspections (with interrupting the beam path between the inspection surface and the observer’s eye).
We recently started offering general visual inspections via drones , which allows us to cover areas that are difficult or almost impossible to reach, dependent on the inspection task.

Main application areas
- Automotive industry
- Pipeline construction
- Foundry
- Steel construction
- generally multisectoral
Penetrant Testing
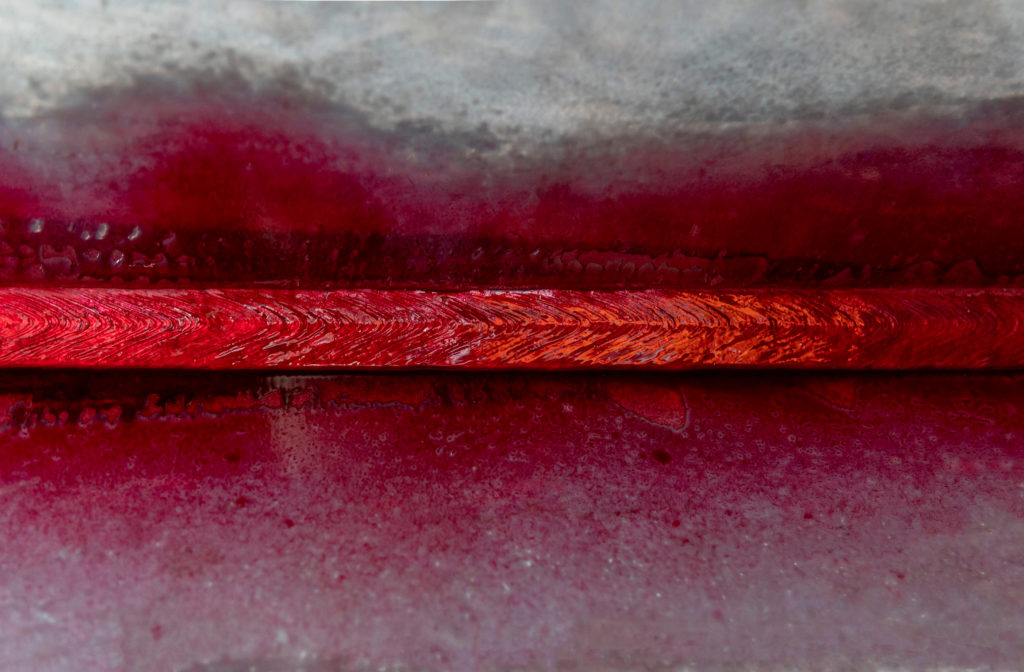
Using dye penetrant testing (PT – penetration testing) as a mere surface method, we make e.g. fine cracks and pores detectable by auxiliary agents like dye.
According to the process standard DIN EN ISO 3452-1, dye penetrant testing is used in daylight (>500 lux) and fluorescent penetrant testing in darkness (<20 lux).
This method is also evaluated based on test standards.
Depending on the product family of the test equipment, we can detect surface-opened defects of different sizes.

Main application areas
- Chemical industry
- Pipeline construction
- Aviation industry
- Automotive industry
Magnetic Particle Inspection
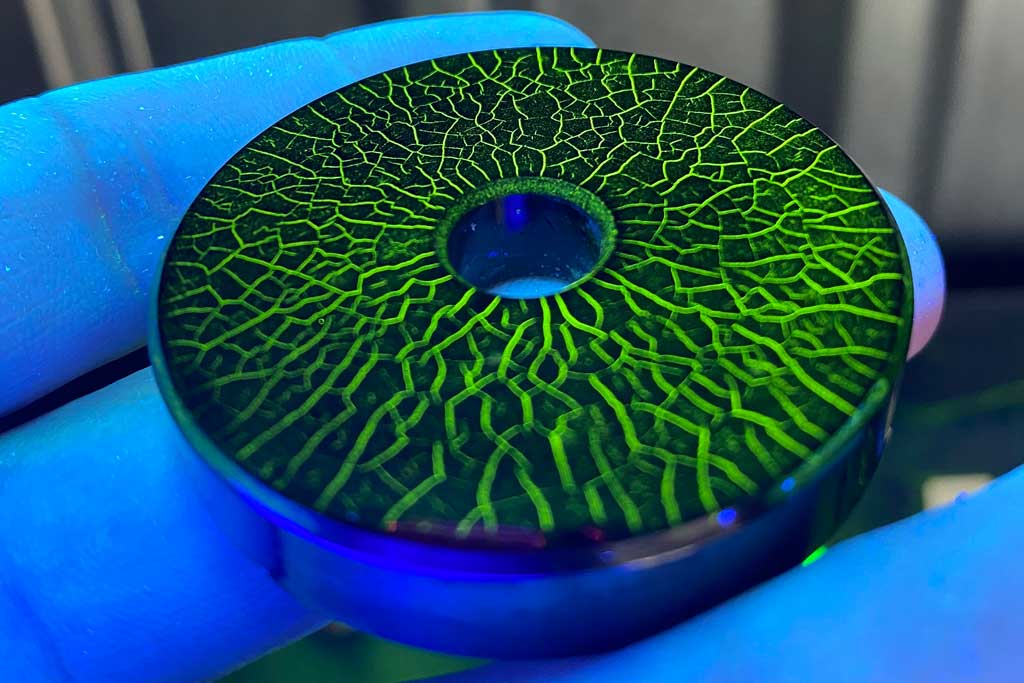
We use magnetic particle inspection (MPI) to perform non-destructive material testing to detect fine cracks in or near the surface of ferromagnetic materials.
For this purpose, we use current flooding or field flooding as well as combinations of both methods.
If the test object is penetrated by current, a magnetic field is created perpendicular to the direction of flow. Longitudinal fractures, i.e. fractures in the direction of current flow, generate a stray field that can be visualized.
In current flow, fractures are indicated in the longitudinal direction of the tested body.
During field flow, the test object is not penetrated with current, but with magnetic flux. Thus, cracks lying orthogonally to the field cause the necessary scattering.
Using field flow, fractures are indicated in the transverse direction of the tested object.
The combination of the two methods reveals longitudinal and transverse fractures adjacent to the surface of the component.

Main application areas
- Chemical industry
- Pipeline construction
- Automotive industry
- Foundry
Ultrasonic Testing
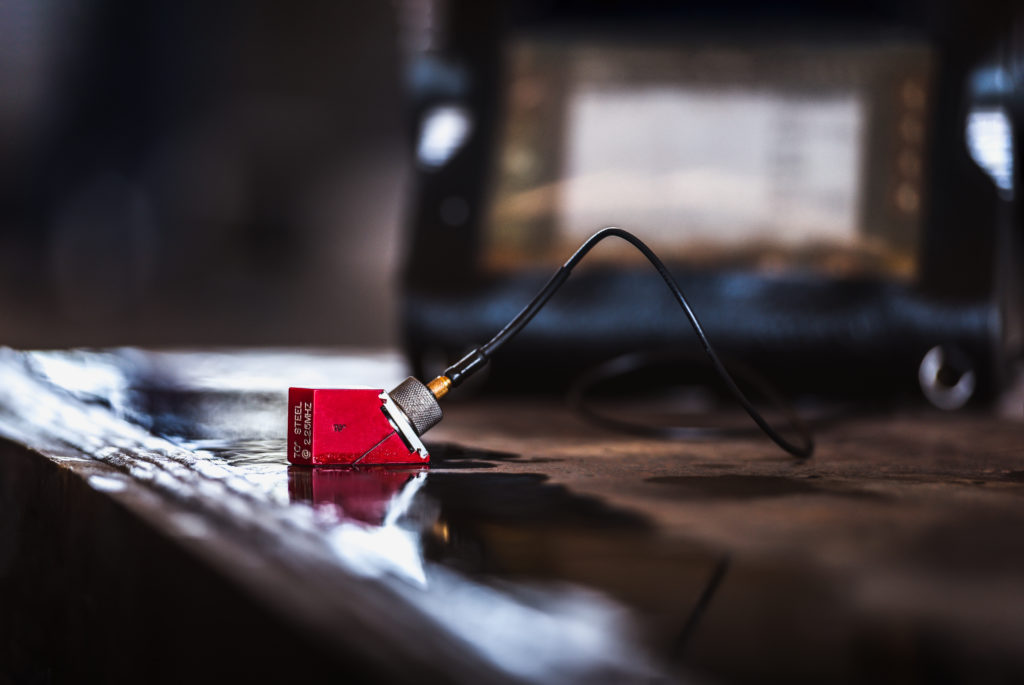
We perform ultrasonic testing (UT) to detect imperfections on and in a test object. We also use this method to measure wall thicknesses.
There are two main methods: the transmission method and the pulse-echo method.
The transmission technique works with two opposing probes and requires access to the specimen from both sides. This technique is mainly used for the detection of doubles and near-surface defects.
The pulse-echo method functions with a test head.
The angle beam scanning with angle beam probe is mainly used for weld seam inspection. Straight-beam testing is often used to measure wall thickness and detect doublings in sheet metal.
Depending on the inspection task, we also work with special methods such as TOFD technology.

Main application areas
- Automotive industry (Spot Checking)
- Chemical industry
- Pipeline construction
- Wall thickness measurements
- Foundry
Additional Services